Marbled Vanilla Chocolate Cake
Highlighted under: Sweet Recipes
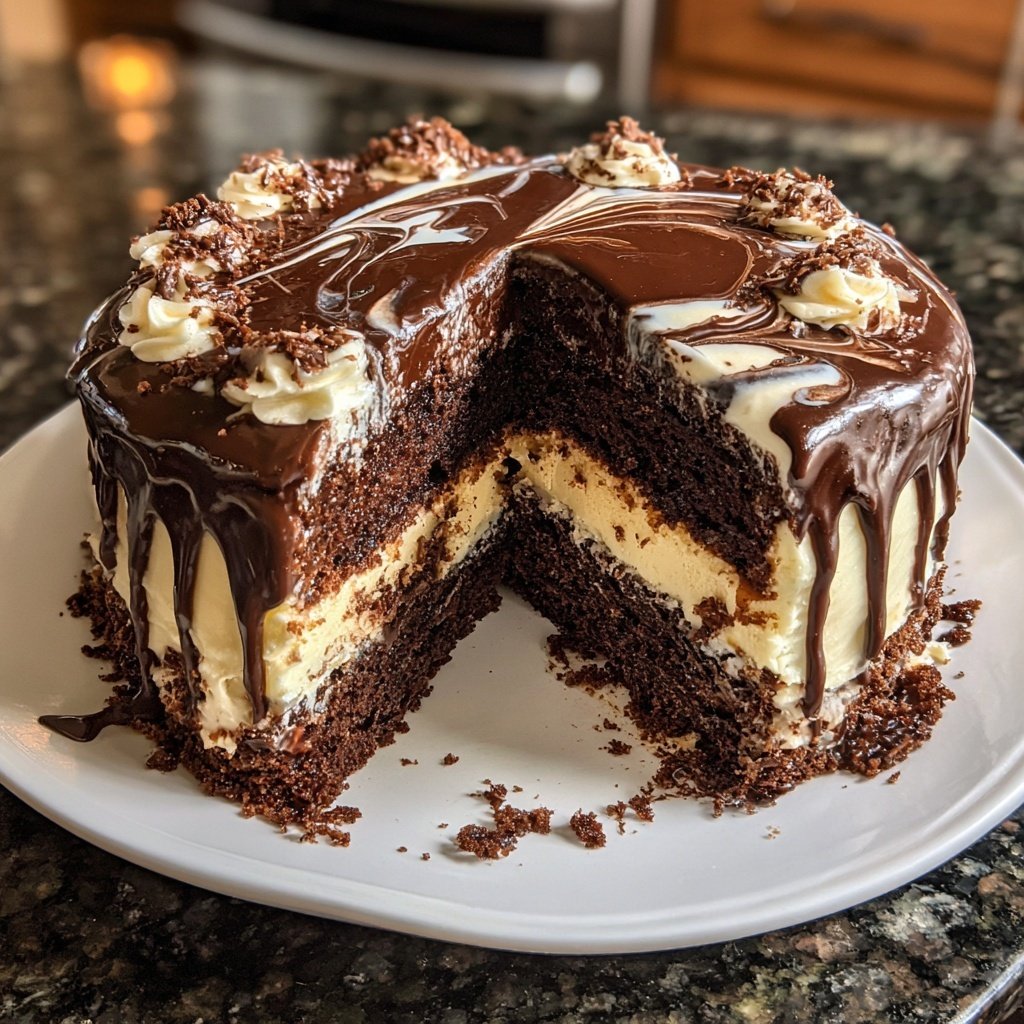
I absolutely love baking cakes, and my latest creation is a delightful Marbled Vanilla Chocolate Cake. The combination of rich chocolate and creamy vanilla is simply irresistible. Every bite offers a perfect balance of flavors, making it a favorite for both casual evenings and special occasions. I particularly enjoy the visual appeal of the marbled design, which always impresses guests. This cake is surprisingly easy to make, joining the elegant taste and beauty without requiring advanced baking skills. Let me share with you how I achieved this delicious masterpiece!
Baking this Marbled Vanilla Chocolate Cake was an adventure in flavor and a feast for the eyes. I remember carefully swirling the batters together to create that stunning marble effect. Each time I pulled the knife through the layers, I was pleasantly surprised by the beautiful patterns that developed. It’s a great way to offer the best of both worlds—fluffy vanilla and rich chocolate in one delicious cake.
The secret to its success was ensuring both batters were equally aerated and smooth. I also learned that letting the cake cool completely before slicing ensures clean cuts and showcases the marbling beautifully. This cake has quickly become a beloved choice among friends and family!

Why You'll Love This Cake
- Beautiful marbled design that impresses at any gathering
- Perfectly balanced flavors of rich chocolate and creamy vanilla
- Soft and moist texture that stays fresh for days
Understanding the Ingredients
The Marbled Vanilla Chocolate Cake's success hinges on the quality of its ingredients. Using high-quality cocoa powder such as Dutch-processed will enhance the chocolate flavor significantly, giving it depth and richness. The butter should be softened but not melted to ensure that it incorporates air during the creaming process, resulting in a light and fluffy texture. Fresh eggs are also crucial; they not only provide structure but also contribute to the cake's moisture and richness.
Buttermilk plays a vital role in this recipe by adding acidity, which activates the baking soda and helps the cake rise beautifully. If you don't have buttermilk on hand, a quick substitute can be made by mixing one cup of regular milk with one tablespoon of vinegar or lemon juice. Let it sit for about 5-10 minutes before using. This will mimic the tangy flavor and acidity that buttermilk brings to the cake.
Mastering the Marbling Technique
To achieve a stunning marbled effect, it's important to alternate spoonfuls of the vanilla and chocolate batter evenly in the cake pans. Rather than mixing the batters together, which can lead to a muddy color, gently swirling them with a knife creates that beautiful contrast. Aim for a 'figure-eight' motion when swirling, which helps blend the layers without completely combining them while keeping the distinctive marbled look.
When swirling, be careful not to overdo it. Too much mixing will result in a less distinct marbled pattern. I find that three gentle swirls are often perfect. The visual impact of the marbling will not only enhance the cake's aesthetic but also provide an exciting surprise when it's sliced, showing off the beautiful contrast of dark and light.
Ingredients
Before you start baking, gather all the necessary ingredients for the Marbled Vanilla Chocolate Cake:
For the Cake
- 1 ¾ cups all-purpose flour
- 1 ½ cups granulated sugar
- ¾ cup unsweetened cocoa powder
- 1 cup unsalted butter, softened
- 4 large eggs
- 1 cup buttermilk
- 2 teaspoons vanilla extract
- 1 ½ teaspoons baking powder
- 1 teaspoon baking soda
- ½ teaspoon salt
Ensure you have everything measured out and ready, which makes the baking process smoother!
Instructions
Let’s get started on making this delicious cake:
Prep the Oven and Pans
Preheat your oven to 350°F (175°C) and grease two 9-inch round cake pans with butter or cooking spray. Dust them lightly with flour to ensure easy removal later.
Mix the Wet Ingredients
In a large mixing bowl, cream together the softened butter and sugar until light and fluffy. Add the eggs one at a time, beating well after each addition. Stir in the buttermilk and vanilla extract.
Combine Dry Ingredients
In a separate bowl, sift together the flour, cocoa powder, baking powder, baking soda, and salt. Gradually incorporate the dry ingredients into the wet mixture, mixing until just combined.
Marble the Batter
Divide the batter evenly into two bowls. In one bowl, add an additional ½ cup of cocoa powder to deepen the chocolate flavor. Alternate spoonfuls of each batter into the prepared pans and use a knife to swirl the batter gently for a marbled effect.
Bake the Cake
Bake in the preheated oven for 30 minutes or until a toothpick inserted into the center comes out clean. Allow the cakes to cool in the pans for 10 minutes, then turn out onto wire racks to cool completely.
Serve and Enjoy
Once completely cooled, frost with your favorite frosting, or enjoy the cake plain to savor the beautiful marbling. Slice and serve to your family and friends.
Now that your cake is ready, you can enjoy every delicious slice!
Pro Tips
- For an extra touch, serve the cake with a dollop of whipped cream and a sprinkle of chocolate shavings. Always let the cakes cool completely before frosting to avoid melting the icing.
Storage and Make-Ahead Tips
This cake stores exceptionally well due to its moist texture. Once cooled, wrap it tightly in plastic wrap and keep it at room temperature for up to three days, or refrigerate for up to one week. If you want to enjoy it longer, consider freezing. Slice the cake or store it whole, then wrap it in multiple layers of plastic wrap and foil for up to three months. To thaw, simply place it in the refrigerator overnight before serving.
For events, you can bake the cake a day or two in advance. Just ensure it cools completely before wrapping it to avoid moisture buildup that could affect its texture. Frosting can also be made ahead—just keep it in a sealed container in the refrigerator and bring it to room temperature before frosting the cake to ensure it spreads smoothly.
Serving Suggestions and Variations
This cake pairs beautifully with various accompaniments. A simple glaze or dusting of powdered sugar can elevate its appearance and flavor without overpowering the chocolate and vanilla. For a more indulgent experience, consider serving it with fresh whipped cream or a scoop of vanilla ice cream on the side, which adds creaminess and enhances the flavor profile.
For those looking to customize the marbled cake, try adding a layer of fruit preserves or chocolate ganache between the layers for added flavor and moisture. You can also experiment with different extracts; for instance, almond extract can complement the vanilla and add a unique touch. Just remember that extracts vary in strength, so start with a small amount and adjust to taste.
Questions About Recipes
→ Can I make this cake in advance?
Absolutely! This cake can be baked ahead of time. Just store it in an airtight container at room temperature for up to 2 days or refrigerate for up to a week.
→ What frosting goes well with this cake?
A simple vanilla buttercream or chocolate ganache complements the marbled flavors perfectly. You can even use whipped cream for a lighter option.
→ Can I substitute any of the ingredients?
Yes, you can use a gluten-free flour blend instead of all-purpose flour for a gluten-free version. Use a dairy-free butter alternative and non-dairy milk for a dairy-free option.
→ How should I store leftovers?
Store leftover cake in an airtight container at room temperature. It will stay fresh for several days. If refrigerating, make sure to cover it well to retain moisture.
Marbled Vanilla Chocolate Cake
Created by: The Cookingspur Team
Recipe Type: Sweet Recipes
Skill Level: Intermediate
Final Quantity: 8 slices
What You'll Need
For the Cake
- 1 ¾ cups all-purpose flour
- 1 ½ cups granulated sugar
- ¾ cup unsweetened cocoa powder
- 1 cup unsalted butter, softened
- 4 large eggs
- 1 cup buttermilk
- 2 teaspoons vanilla extract
- 1 ½ teaspoons baking powder
- 1 teaspoon baking soda
- ½ teaspoon salt
How-To Steps
Preheat your oven to 350°F (175°C) and grease two 9-inch round cake pans with butter or cooking spray. Dust them lightly with flour to ensure easy removal later.
In a large mixing bowl, cream together the softened butter and sugar until light and fluffy. Add the eggs one at a time, beating well after each addition. Stir in the buttermilk and vanilla extract.
In a separate bowl, sift together the flour, cocoa powder, baking powder, baking soda, and salt. Gradually incorporate the dry ingredients into the wet mixture, mixing until just combined.
Divide the batter evenly into two bowls. In one bowl, add an additional ½ cup of cocoa powder to deepen the chocolate flavor. Alternate spoonfuls of each batter into the prepared pans and use a knife to swirl the batter gently for a marbled effect.
Bake in the preheated oven for 30 minutes or until a toothpick inserted into the center comes out clean. Allow the cakes to cool in the pans for 10 minutes, then turn out onto wire racks to cool completely.
Once completely cooled, frost with your favorite frosting, or enjoy the cake plain to savor the beautiful marbling. Slice and serve to your family and friends.
Extra Tips
- For an extra touch, serve the cake with a dollop of whipped cream and a sprinkle of chocolate shavings. Always let the cakes cool completely before frosting to avoid melting the icing.
Nutritional Breakdown (Per Serving)
- Calories: 310 kcal
- Total Fat: 17g
- Saturated Fat: 10g
- Cholesterol: 95mg
- Sodium: 125mg
- Total Carbohydrates: 37g
- Dietary Fiber: 2g
- Sugars: 24g
- Protein: 4g